Want to add chat or video calling to your Android application? QuickBlox makes this easy with our comprehensive Android SDK suitable for applications built with both Java or Kotlin. Now you can add stunning real-time communication features to any application built for the Android platform, with minimal coding necessary. To assist you even more our Android chat and video calling SDK is free to download and we provide detailed documentation.
Why not download our Android chat and WebRTC video conferencing sample and see for yourself? Our step-by-step guide below will show you how to run our Android samples so that you get building awesome apps today.
Let’s get Started!
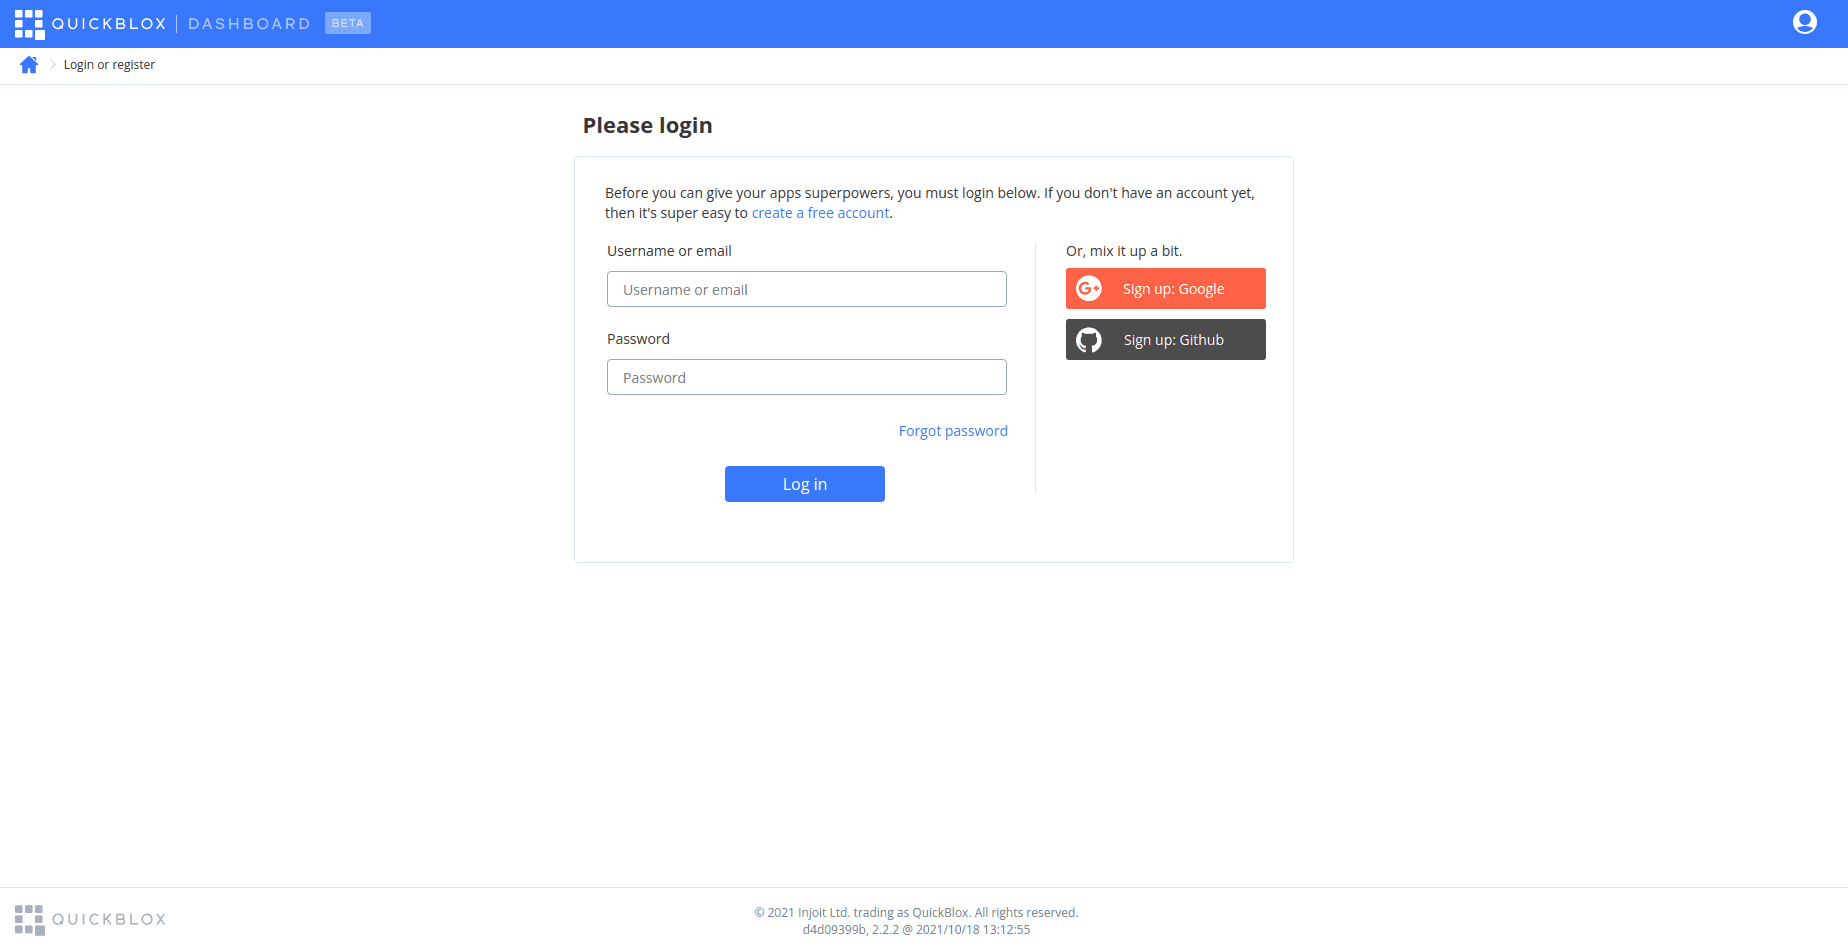
- First you need to Login on the homepage of the QuickBlox dashboard. If you don’t have an account yet, sign-up for an account now.
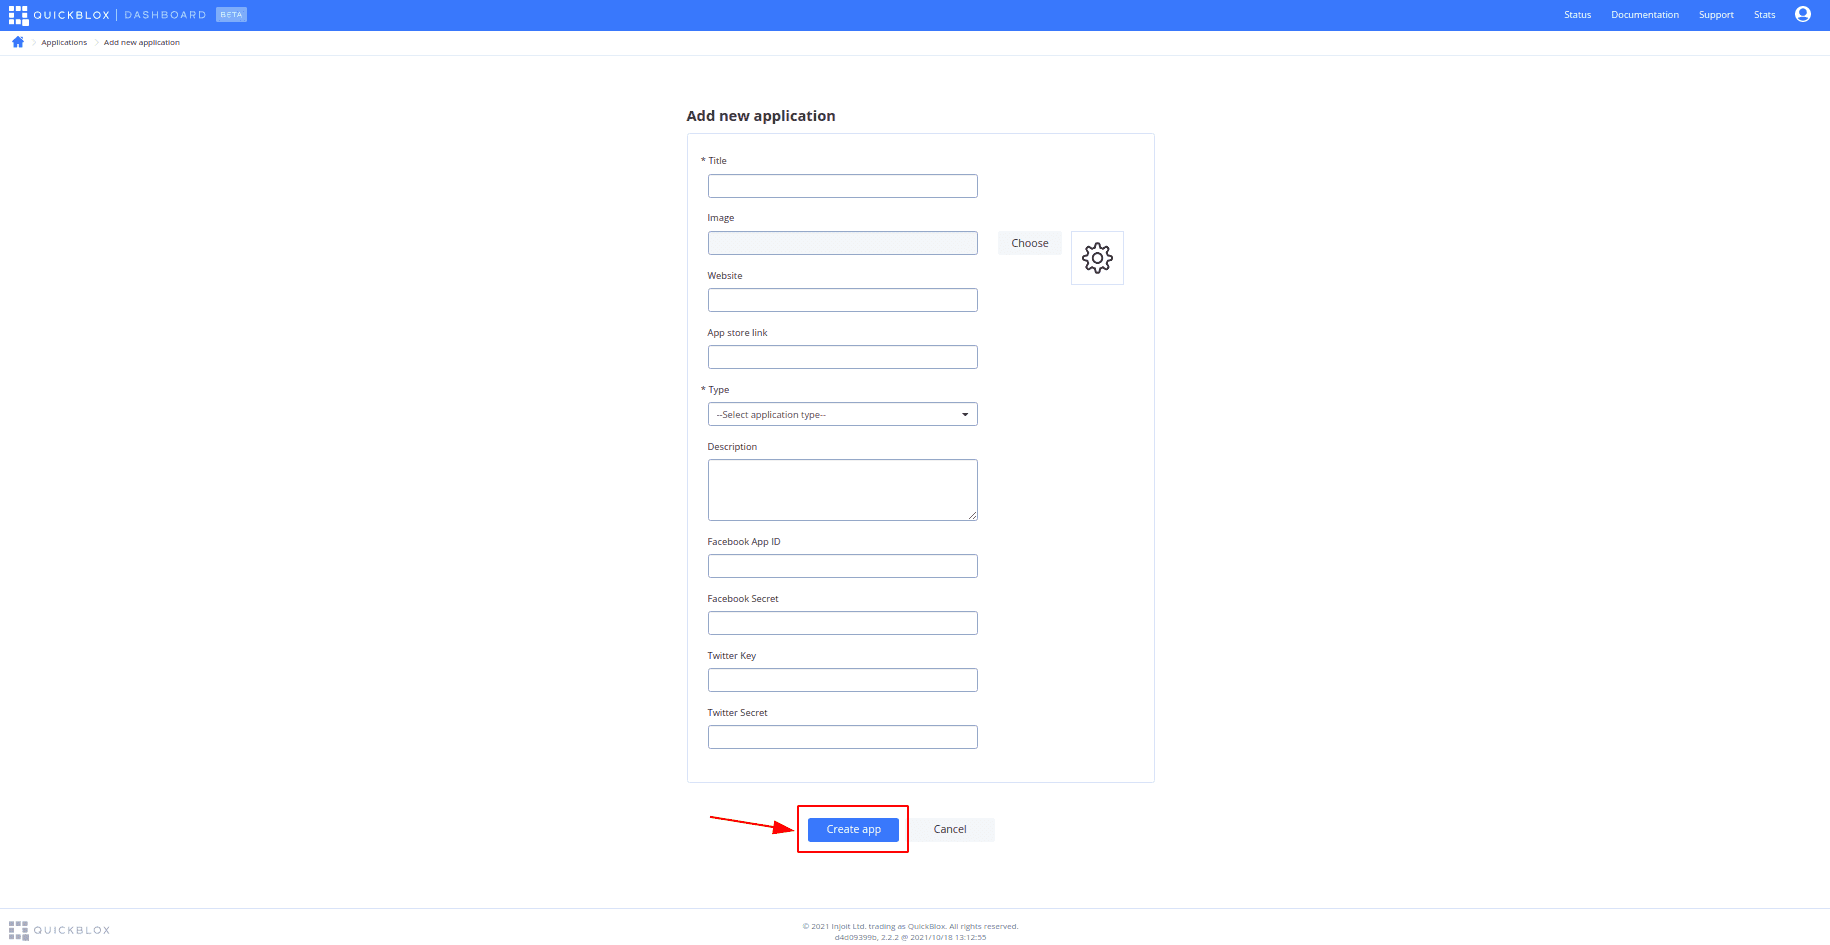
After signing onto the admin panel, create a new project by selecting the “New app” button.

To configure the app, type in the information about your organization into corresponding fields and select the “Create app” button.
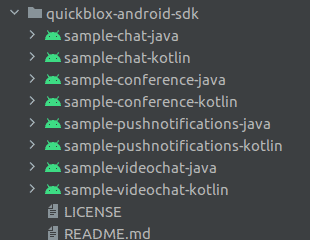
- Next, we’re going to download samples from GitHub GitHub – QuickBlox/quickblox-android-sdk: QuickBlox Android SDK includes code snippets with main use cases and framework JAR library.
To download samples, click on the button “Code” and select the format you need.
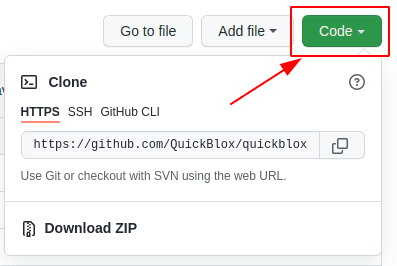
The best ways to download samples from GitHub are HTTPS or download ZIP:
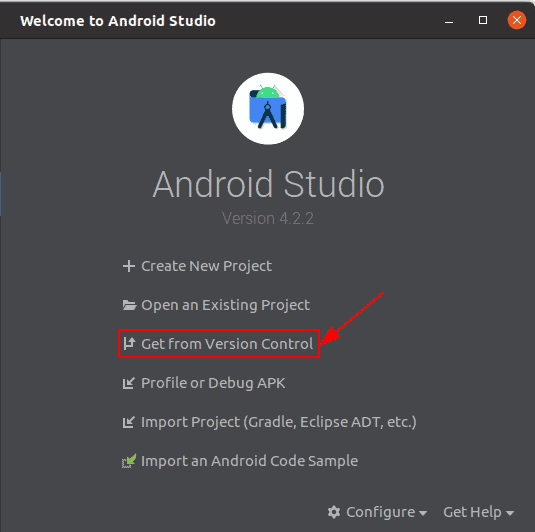
Open Android Studio. If you don’t have it installed, download the link: Android Studio and SDK tools | Android Developers. We recommend opening samples using Android Studio version 4.1 or higher.
– Press “Get from Version Control”
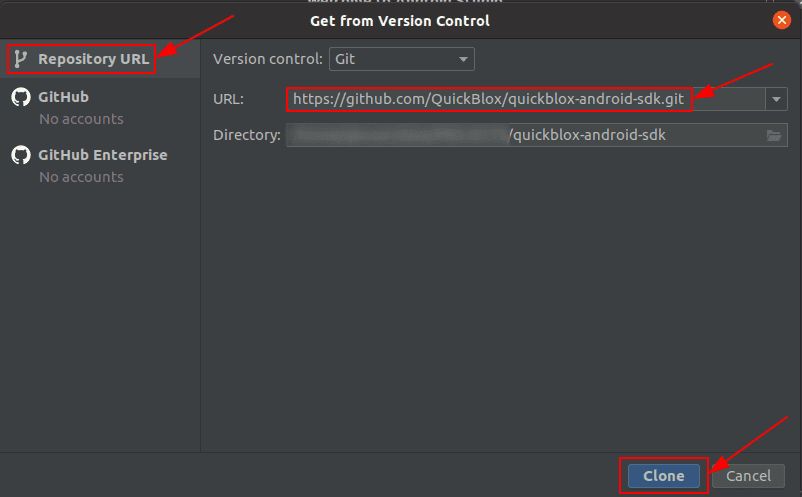
– Select the Repository URL section, and paste the HTTPS link in the URL field, specify the directory where the samples will be downloaded and click the Clone button.
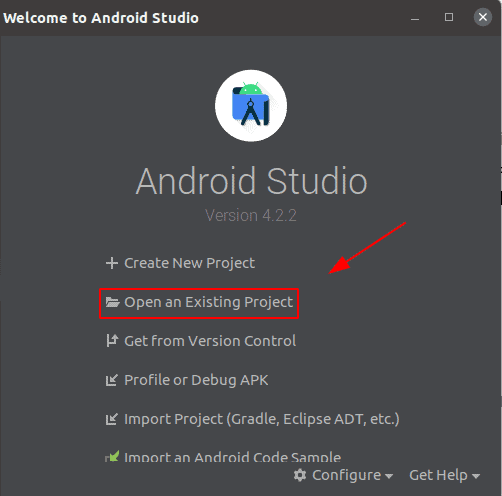
- Open the sample in Android Studio.
– Press “Open an Existing Project”
– Select a sample you need.
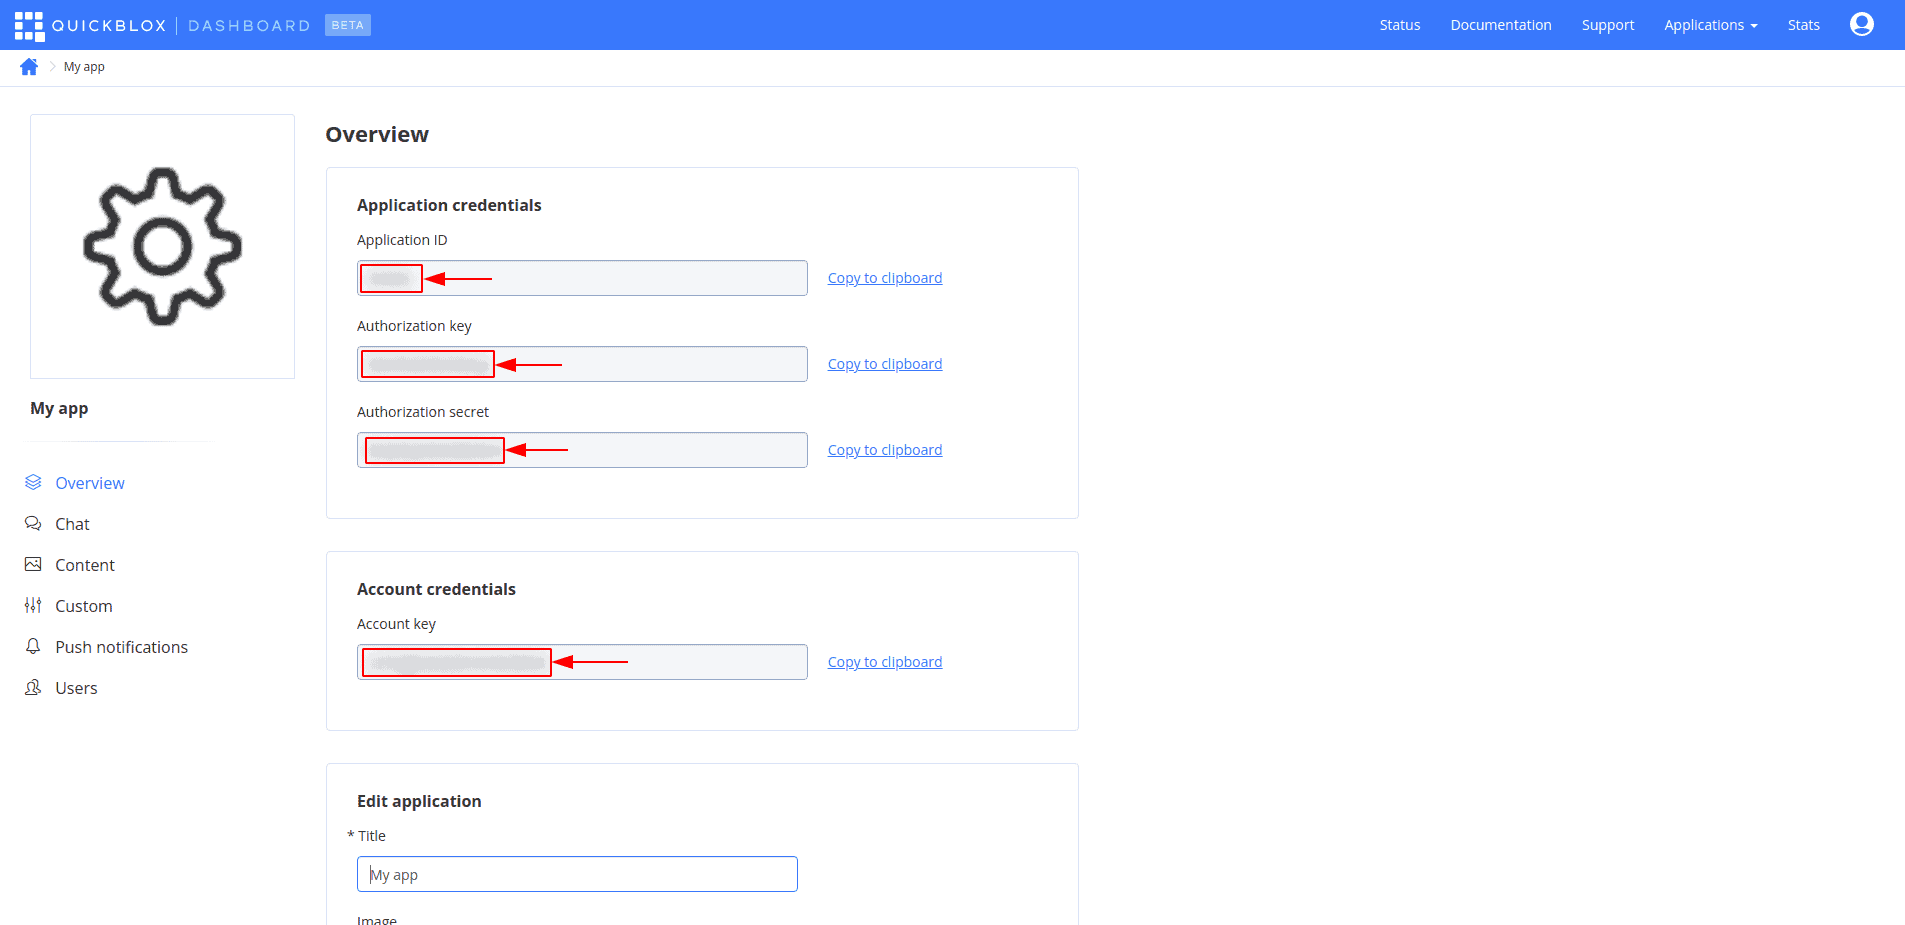
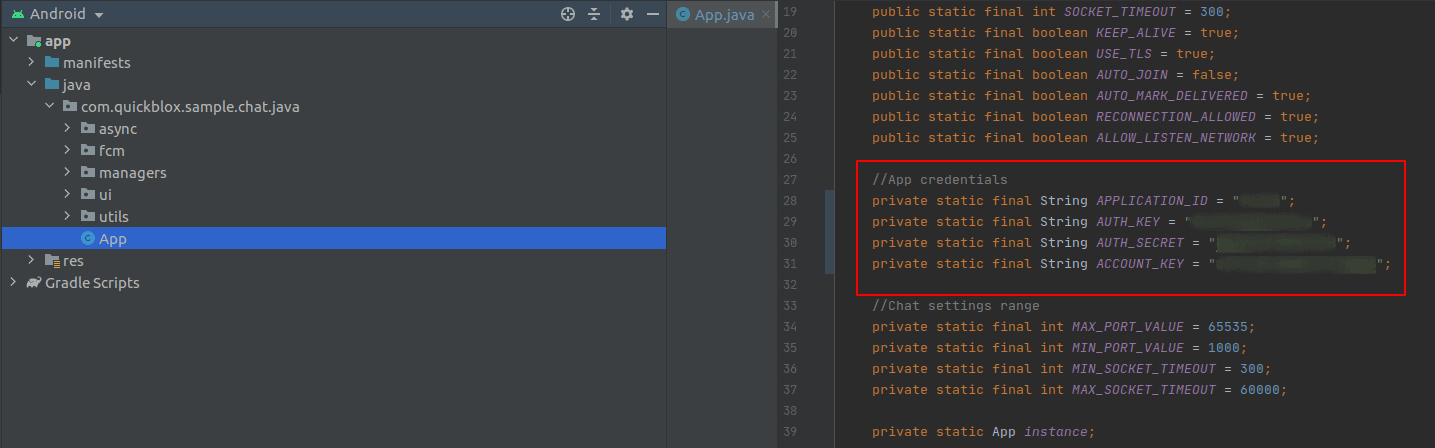
- Then you need to add the application credentials from the admin panel to the App file.
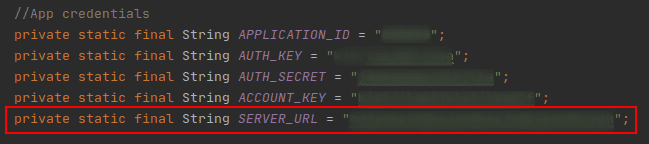
- For conference samples, SERVER_URL is additionally required.
Video conferencing is available for customers on our paid plans. Full functionality including conference video recording is available on the Enterprise Plan only. Take advantage of Enterprise features to unlock new value and opportunities for users. For more information and to request a demo, contact us.
- To use push notifications you first need to create a Firebase account, if you don’t already have one. Then you should configure your Firebase project and obtain the Server key.
– To find your FCM Server key, go to your Firebase console => Project Settings => Cloud Messaging.

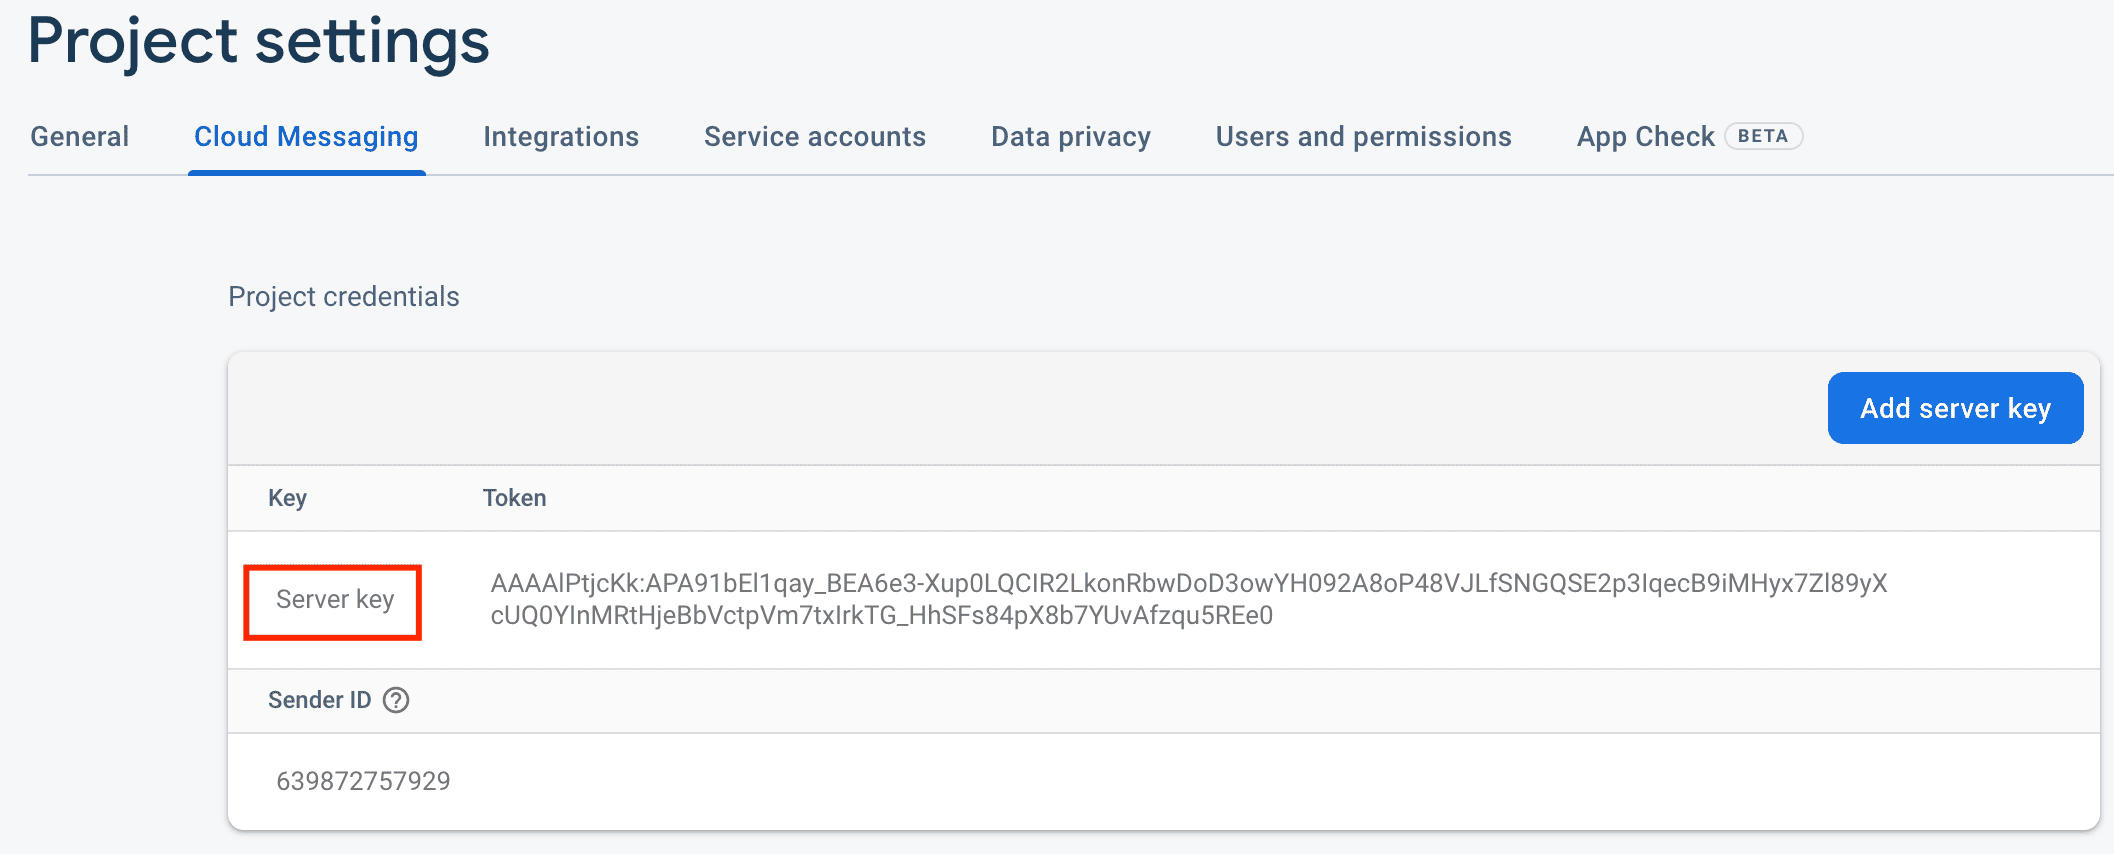
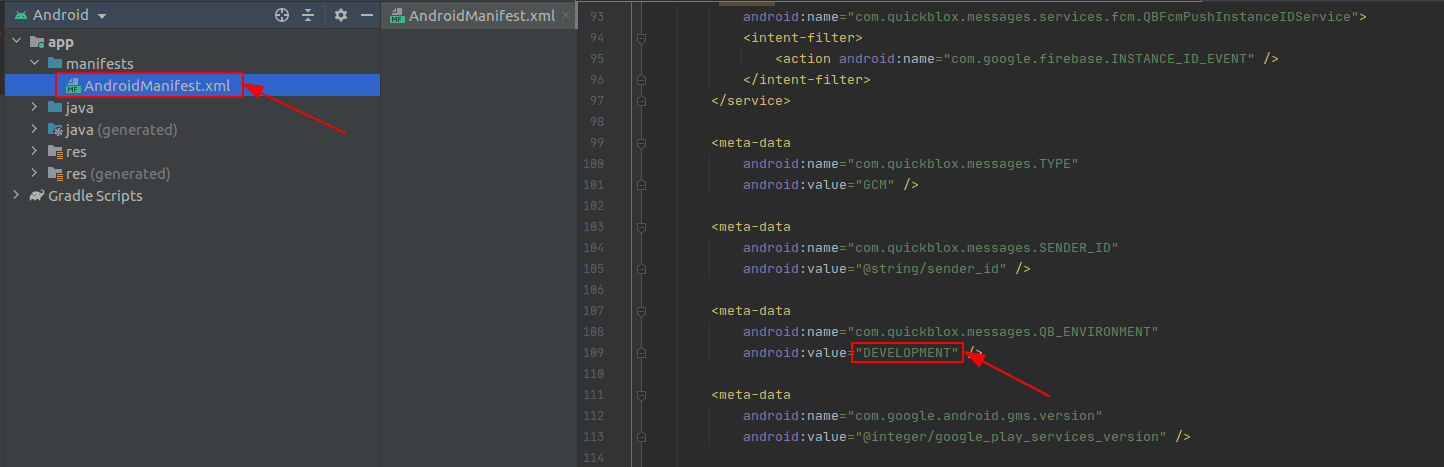
– Copy the Server key to your Admin panel => YOUR_APP => Push Notifications => Settings, select the environment for which you add the key, and click Save key. There are DEVELOPMENT and PRODUCTION environments. By default, in the AndroidManifest.xml file of the sample, the value QB_ENVIRONMENT is set to DEVELOPMENT. The environment must be the same both in AndroidManifest.xml file and in QuickBlox admin panel. If you don’t want to separate or change the environment right now you can set the same key to DEVELOPMENT and PRODUCTION environment in the admin panel.

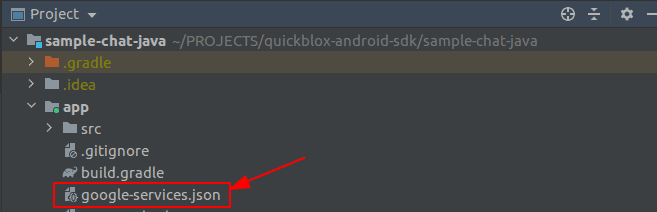
– Download the google-services.json file following Firebase console => Project Settings => General and replace it into the app folder in the sample.


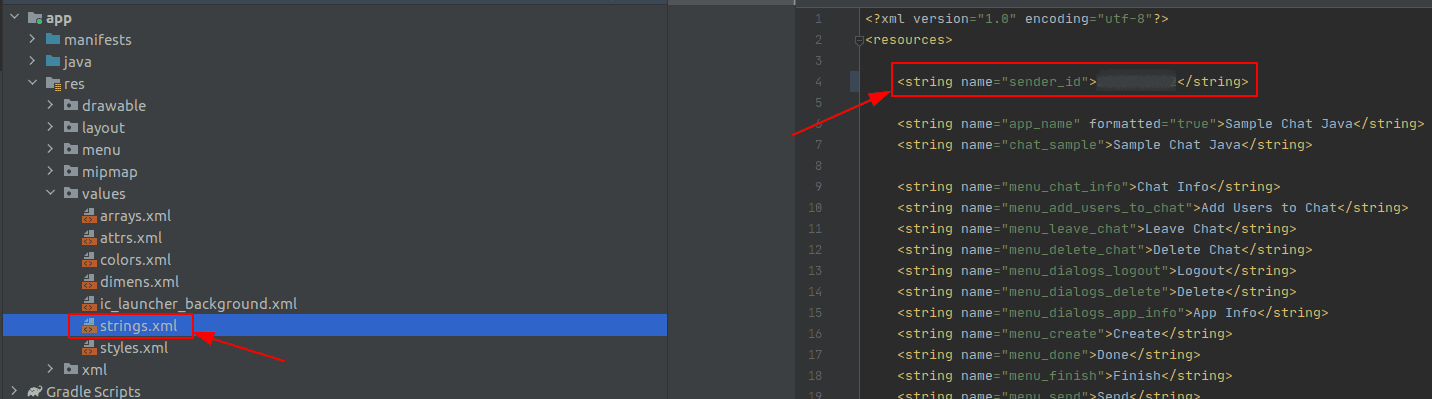
– Copy the Sender ID value following Firebase console => Project Settings => Cloud Messaging.
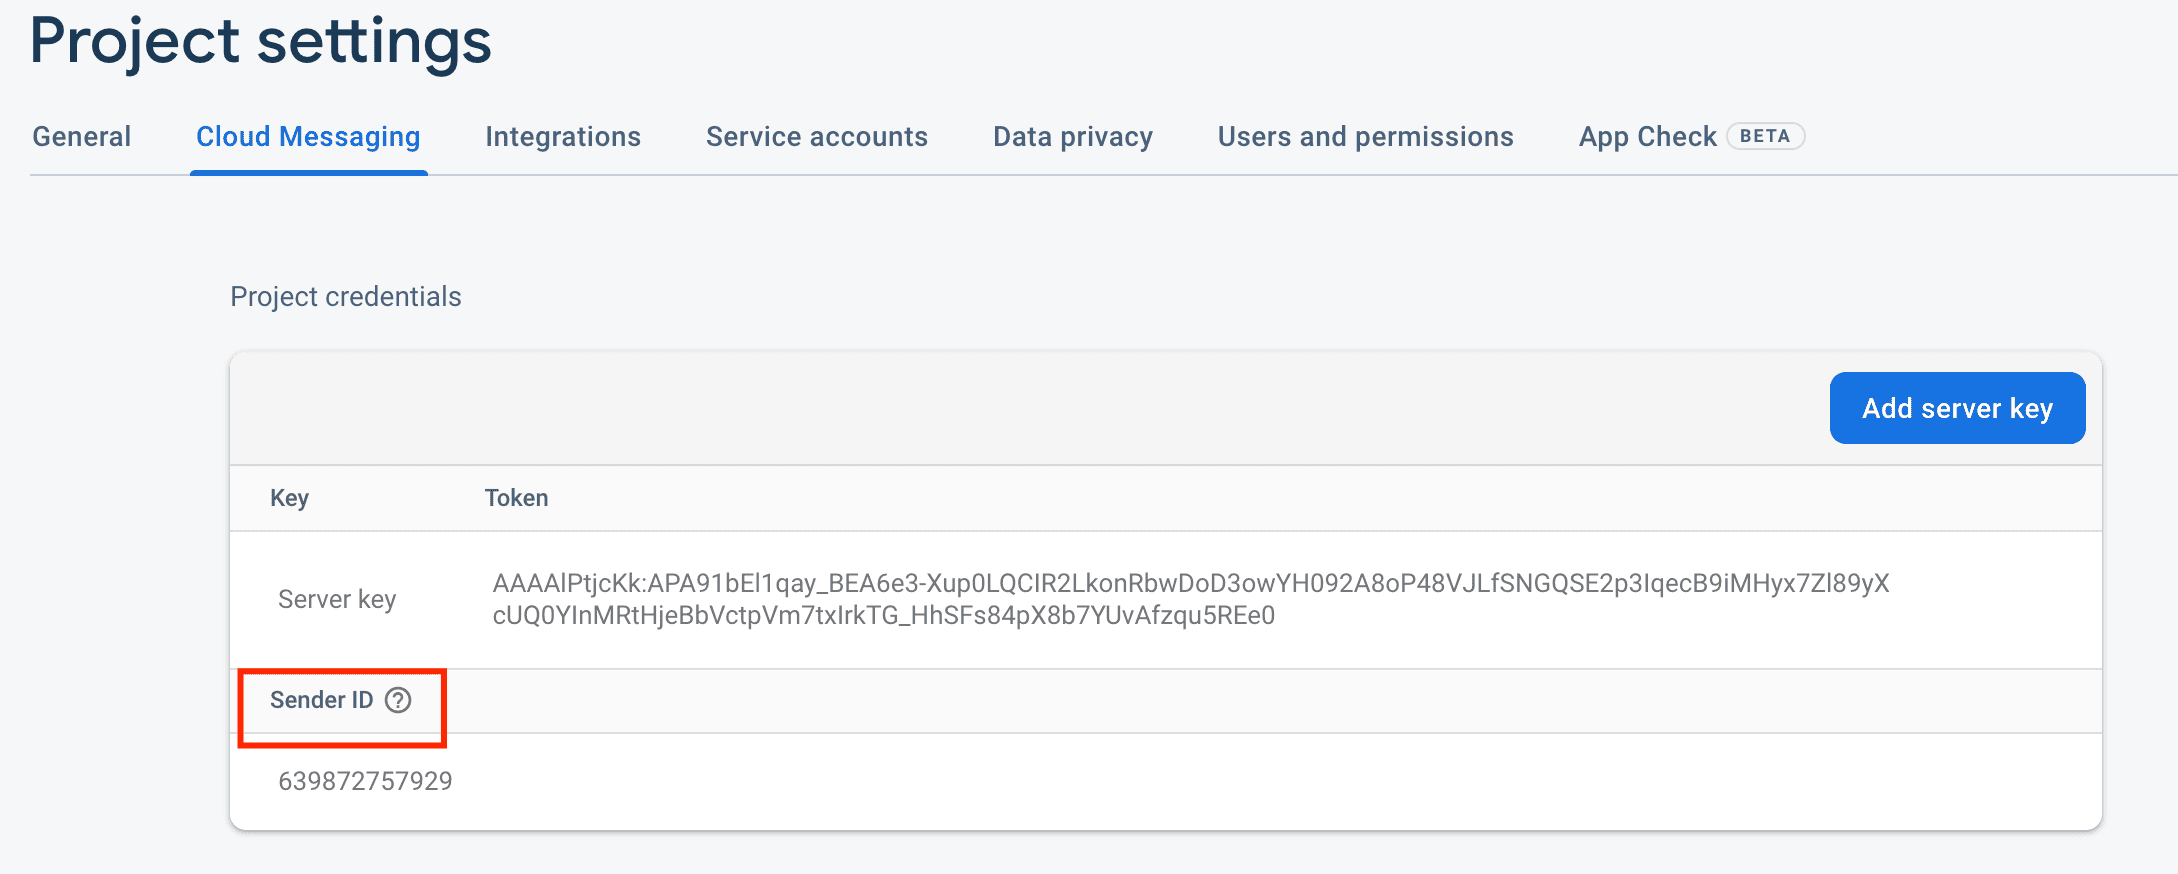
– Add Sender ID to string.xml file in the string with name sender_id.
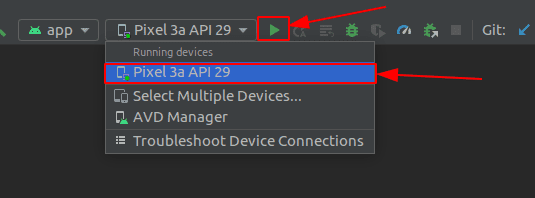
- All that remains is to launch an emulator or a mobile device with Android OS. Select a device in the list of running devices and press the “Run” button.
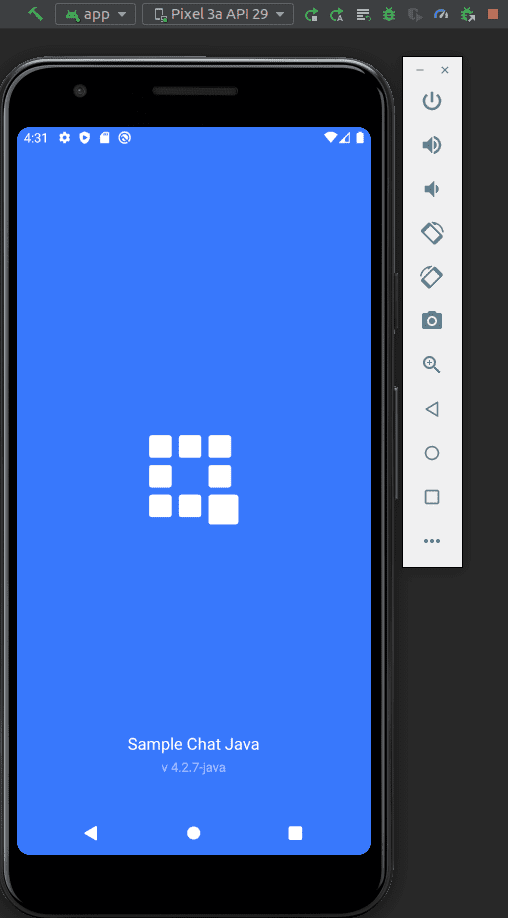
- Sample launched!
Use QuickBlox Android SDK today
Check out our detailed documentation so that you learn more about our Android SDK which includes modules for custom objects, user management, content and file storage, and more.
For technical queries about using our SDK or recommendations for our product or documentation please submit a ticket to our support team.
Contact us if you want to learn more about how QuickBlox can support your communication needs.
Have Questions? Need Support?
Join the QuickBlox Developer Discord Community, where you can share ideas, learn about our software, & get support.
Join QuickBlox Discord
 AI Agent — automate conversations and workflows. Now available on Free plan