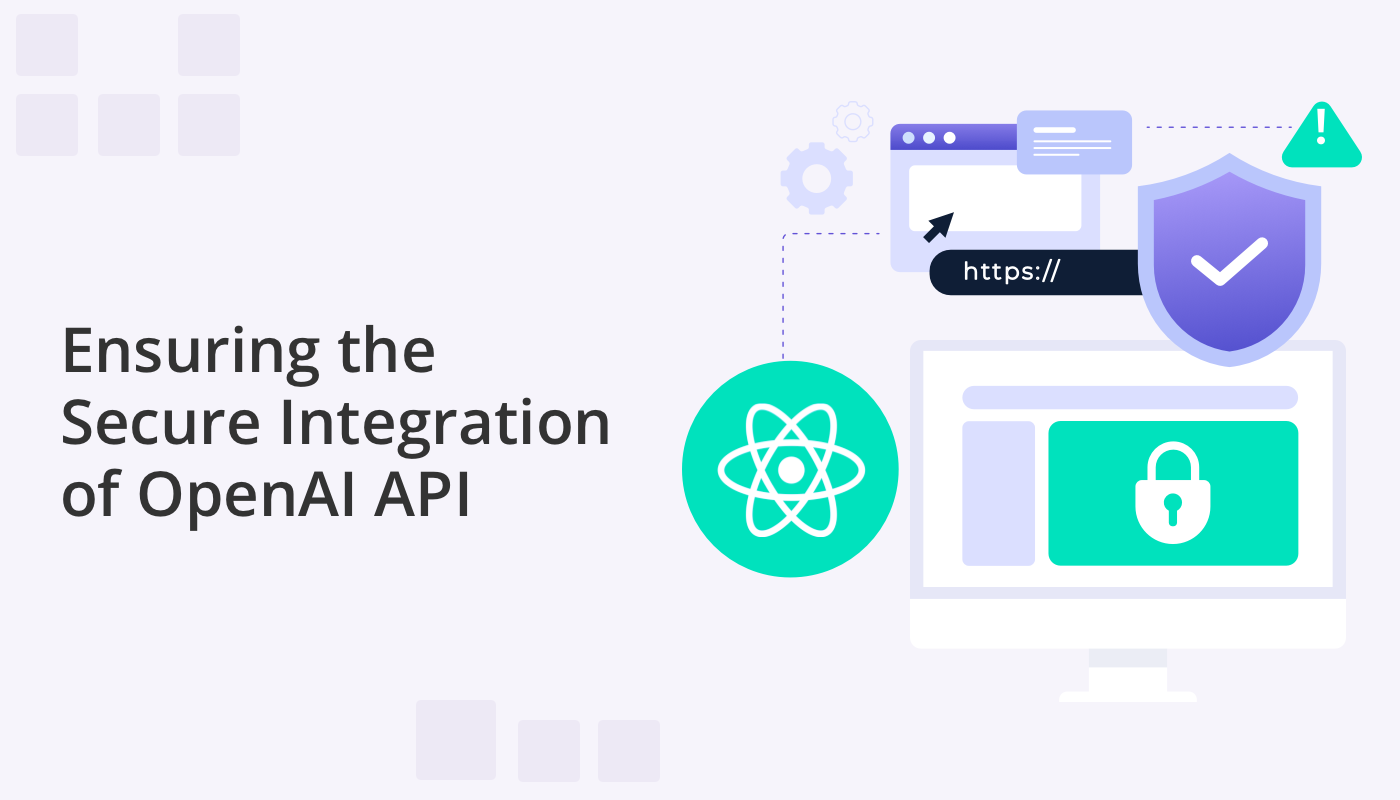
The utilization of external services and APIs has become an increasingly integral aspect of software product development. Recently OpenAI’s API has become a popular tool for developers wishing to add exciting AI powered features to their applications. However, when it comes to integrating with such services, the need to address crucial security concerns arises. This becomes particularly relevant in the context of ensuring the confidentiality of API keys.
Take for example QuickBlox’s AI-enhanced React UIKit that depends on integration with OpenAI API. The UI Kit allows developers to build chat applications with speed and efficiency. OpenAI integration allows the implementation of stunning AI features, including AI Answer Assist, AI Translate and AI Rephrase. While we want developers to enjoy the full benefits of our cutting-edge AI features, we also wish to support the security of their applications. That’s why we’ve created a proxy server.
In this article we will explain further the security issue around API keys, demonstrate the value of using a proxy server, and show you how to use our React UIKit and OpenAI API Integration securely by way of our Proxy Server.
Note: This tutorial serves as a continuation of a series of guides related to QuickBlox React UIKit.
Contents Table
OpenAI API Integration with React UIKit
QuickBlox has introduced a series of AI extensions designed to enhance any ordinary chat application. These extensions– AI Answer Assist, AI Translate, and AI Rephrase – are powered by OpenAI and have been pre-enabled in the QuickBlox React UIKit.
You can find detailed information about these AI extensions here:
QuickBlox Documentation
AI Rephrase Implementation Guide for React Apps
AI Translate Implementation Guide for React Apps
Supercharge Your Web Chat Apps with ChatGPT AI Answer Assist
AI Answer Assist Video tutorial
As our AI enhanced React UIKit depends on OpenAI API integration, we want to ensure the security of your application. However, integrating with OpenAI API from client applications, such as React web applications, can expose you to a series of significant challenges:
Key Security: Directly passing the API key from client-side code can lead to inadvertent key exposure. This can result in unauthorized access to the OpenAI account, data theft, or even resource abuse, negatively impacting your application’s security and data integrity.
Client-Side Limitation: Calling the OpenAI API directly from the browser introduces limitations to your application’s functionality due to browser security policy restrictions (CORS). This can lead to issues with authentication, error handling, and overall performance.
The Benefits of a Proxy Server
To ensure security and efficient operation with the OpenAI API, it is recommended to utilize a proxy server. A proxy server acts as an intermediary between the client application and the OpenAI API, addressing the aforementioned challenges:
Key Concealment: A proxy server enables you to keep the API key in a secure server environment accessible only to authorized personnel. The client application will send requests to the proxy server, which ensures secure interaction with the OpenAI API.
Browser Restriction Overcome: The proxy server resolves CORS-related issues by allowing your application to send requests to your own server, which then forwards them to the OpenAI API. This circumvents browser security policy limitations and facilitates more flexible error handling and authentication procedures.
Now that we understand the security issues at stake and how best to overcome them, let’s delve into how to deploy a proxy server for AI features in QuickBlox React UIKit.
Using the QuickBlox React UI Kit with OpenAI API
Create an OpenAI account and obtain an API Key
Getting started with OpenAI involves creating an account on their platform and obtaining API keys. These keys are crucial for securely connecting your application to OpenAI’s capabilities. Here’s a simple guide to walk you through the process:
To access the powerful AI features offered by OpenAI and integrate them into your QuickBlox React UIKit application, follow these steps:
1. Account Registration:
- Go to the OpenAI website (openai.com).
- Click on the “Sign up” option located at the top of the page.
- Fill in your name, email address, and choose a password.
- Click “Sign up” to create your personal OpenAI account.
2. Verification and Login:
- Check your email inbox for a verification link sent by OpenAI.
- Click the provided link to confirm and activate your OpenAI account.
- Once verified, log in to your account using your registered email and password.
3. Explore OpenAI Platform:
- Take some time to explore the various tools, resources, and AI capabilities available on the OpenAI platform. This will give you an overview of the potential you have at your fingertips.
4. Obtain an API Key:
- An API key is essential for your application to securely communicate with OpenAI services.
- Within your OpenAI account, navigate to the API section or a designated area where keys are generated.
- Create a new secret key by following the instructions provided.
- Safeguard this key, as it will be used to enable the secure integration of OpenAI into your QuickBlox React UIKit application.

By following these steps, you’ll be well-equipped to harness the power of OpenAI’s AI capabilities while ensuring a secure and seamless integration with your QuickBlox React UIKit project.
Set up and run your proxy server application
The developers at QuickBlox have designed a simple and easy-to-understand example application for setting up a proxy server. You can get the source code of this application by following this link: https://github.com/QuickBlox/qb-ai-assistant-proxy-server. We suggest you download this source code, and using this example, let’s see how to set up and run the proxy server.
With this application example in hand, we can now take a closer look at the process of configuring and launching the proxy server. Let’s begin by breaking down the key steps that will help you successfully set up and integrate the proxy server for secure interaction with OpenAI API in your QuickBlox React UIKit application.
QBAIPROXY was integrated with QuickBlox to establish a secure way to use the AI API. By combining QBAIPROXY with QuickBlox, a two-step process was put in place to make sure that only people with permission can use the API. This process involves checking if the person trying to use the AI API is both registered and allowed to use it. This extra step helps prevent any unauthorized individuals from interfering and keeps the API safe from potential attacks by malicious users.
To incorporate QuickBlox with the QBAIPROXY server, just follow these steps:
- Start by registering and setting up your account on QuickBlox. You can find the instructions in the QuickBlox documentation.
- Once you have your QuickBlox account ready, you’ll need to obtain your QuickBlox API URL. This URL is important because it’s the way your QBAIPROXY server will communicate with QuickBlox.
- Make sure to configure the obtained QuickBlox API URL correctly. This means checking that it’s accurately entered in the .env file of your project. This step ensures that your QBAIPROXY and QuickBlox can talk to each other smoothly.
For your QBAIPROXY server, you’ll need to make sure you have the following tools ready:
Node.js (v16 and above): QBAIPROXY requires Node.js, a software platform for building and running JavaScript applications. You should have version 16 or a newer version installed on your system.
npm (v8 and above): npm is the package manager for Node.js that helps you manage libraries and dependencies in your projects. You’ll need npm version 8 or a newer version to work effectively with QBAIPROXY.
Having Node.js and npm at the specified versions ensures that your QBAIPROXY server can function properly and take advantage of the latest features and security updates.
After downloading the QBAIPROXY server project from the repository, the next step is to install the required libraries. To achieve this, follow these simple instructions:
- Navigate to Project Directory: Open your terminal and navigate to the directory where you’ve downloaded the QBAIPROXY server project.
- Execute npm install: Once you’re in the project directory, type npm install in the terminal and hit Enter. This command triggers the installation process of all the necessary libraries and dependencies that the project relies on.
Executing npm install fetches the required libraries from the internet and sets up your project environment with everything it needs to run smoothly. It’s an essential step to ensure that your QBAIPROXY server functions as intended and can effectively communicate with QuickBlox and OpenAI API.

Configuring the QBAIPROXY server involves the following steps:
Set Up Environment Variables:
- Rename the .env.example File: Start by locating the .env.example file in your QBAIPROXY project directory. Rename it to .env. This is where you’ll customize your server’s configuration.
- Edit the .env File: Open the .env file in a text editor. Here, you’ll replace the placeholder values with your actual configuration settings.
Development Setup:
- Connection Protocol: During development, you can utilize the HTTP protocol. In the .env file, set the default values for SSL_KEY_FILE and SSL_CERT_FILE as follows:
SSL_KEY_FILE=''
SSL_CERT_FILE=''
- HOST Parameter: For development purposes, it’s recommended to set the HOST parameter to localhost. This ensures that the server is only accessible from the PC where it’s launched:
HOST=localhost
- Port Number: Set the port number for your application. The default port is often 3000. You can modify it in the .env file:
PORT=3000
- QuickBlox API URL: Specify the API URL for QuickBlox in the .env file. This URL is where your QBAIPROXY server will communicate with QuickBlox:
QUICKBLOX_API_URL=https://api.quickblox.com
To use QuickBlox, you’ll need to create an app and obtain the necessary API URL.Follow the instructions in the article “How to Create an App and Use QuickBlox Admin Panel” to create your app and find the appropriate API URL.
- AI API Key: Include your AI API key in the .env file. This key ensures secure communication with the AI services:
AI_API_KEY=your_ai_api_key_here
You must get your API key from the OpenAI platform. How to get an API key, we discussed above in this article.
Following these steps will help configure your QBAIPROXY server according to your requirements. This customization ensures your server operates smoothly during development, allowing you to focus on integrating OpenAI API securely within your QuickBlox React UIKit application.
Production Setup:
When preparing your QBAIPROXY server for production, follow these guidelines:
- Connection Protocol: In a production environment, it’s recommended to use the HTTPS protocol for enhanced security. To achieve this, you need to generate and register certificate keys. Then, update the .env file with the paths to these keys in the SSL_KEY_FILE and SSL_CERT_FILE variables:
SSL_KEY_FILE='certificates/privatekey.pem'
SSL_CERT_FILE='certificates/certificate.pem'
- HOST Parameter: For production deployments, it’s important to define the HOST parameter with a specific IP address that is authorized to access the server. For example:
HOST=192.168.0.100
NOTE: If you want the server to be accessible from all network interfaces, set the HOST parameter to 0.0.0.0. This configuration is suitable for both production and development scenarios.
Following these production setup steps ensures that your QBAIPROXY server is configured securely and correctly, enabling safe and reliable integration of the OpenAI API into your QuickBlox React UIKit application.
Starting the QBAIPROXY Server:
After you’ve made changes to the .env file to configure your QBAIPROXY server, it’s time to start the server itself. Here’s what you need to do:
- Open your terminal.
- Navigate to the directory where your QBAIPROXY project is located.
- In the terminal, type the following command and hit Enter:
npm start
This command initiates the process of starting the server.
- The server will be launched on the port you specified in the .env file. If no specific port is provided, it will default to port 3000.
With these steps, your QBAIPROXY server will begin running, facilitating a secure connection between your QuickBlox React UIKit application and the OpenAI API. This interaction is now established and ready for you to utilize the AI capabilities effectively.
Configuring QuickBlox React UIKit for interaction with the Proxy Server
Now let’s dive into the process of integrating QuickBlox React UI Kit with the proxy server and discover the benefits of this setup for your AI-powered features.
In your QuickBlox React UIKit application, managing the integration of AI features with the proxy server is made simple through the QBConfig.ts configuration file. This file holds a dedicated section called configAIApi, where you can set up parameters for each AI feature.
For each AI feature, you have the proxyConfig configuration section, which contains the following settings:
api: This specifies which API endpoint to call for the particular AI feature.
servername: The name or URL of the proxy server you’re using.
port: The port number on which the proxy server operates.
Here’s an example of how the AI Assist Message configuration could look:
configAIApi: {
  AIAnswerAssistWidgetConfig: {
    apiKey: '', // must be empty
    useDefault: true,
    proxyConfig: {
      api: 'v1/chat/completions',
      servername: 'http://localhost',
      port: '3011',
      sessionToken: '',
    },
  },
  // ... Other AI feature configurations
},
In this example, you can see that for the AI Assist Message feature, the proxyConfig is specified with the necessary parameters. You can similarly configure other AI features within the configAIApi section.
This level of customization empowers you to fine-tune each AI feature’s interaction with the proxy server, tailoring it to your application’s specific needs.
Conclusion
In this article, we’ve explored the essential steps to seamlessly integrate a proxy server into your QuickBlox React UIKit application, enhancing its capabilities and security while accessing AI features through OpenAI API. By incorporating the proxy server, you address concerns such as API key protection and browser limitations, creating a secure environment for AI interactions.
We’ve discussed the importance of configuring both the QBAIPROXY server and the QuickBlox React UIKit application to work in harmony. From setting up environment variables and specifying connection protocols to configuring AI feature parameters within the configAIApi section, the process ensures a robust and secure integration.
Once you’ve successfully completed the configuration process outlined in this article, your QuickBlox React UIKit application will seamlessly harness the capabilities of AI features in conjunction with the proxy server. This integration marks a significant achievement, combining the strengths of QuickBlox’s UI toolkit and the security of the proxy server architecture.
With everything in place, you’re now poised to experience the true potential of AI-driven enhancements within your application. Your users will be able to utilize AI Answer Assist, AI Translate, AI Rephrase, and other AI features securely, as your application communicates seamlessly with the OpenAI API through the proxy server.
Have Questions? Need Support?
Join the QuickBlox Developer Discord Community, where you can share ideas, learn about our software, & get support.
Join QuickBlox Discord
 AI Agent — automate conversations and workflows. Now available on Free plan