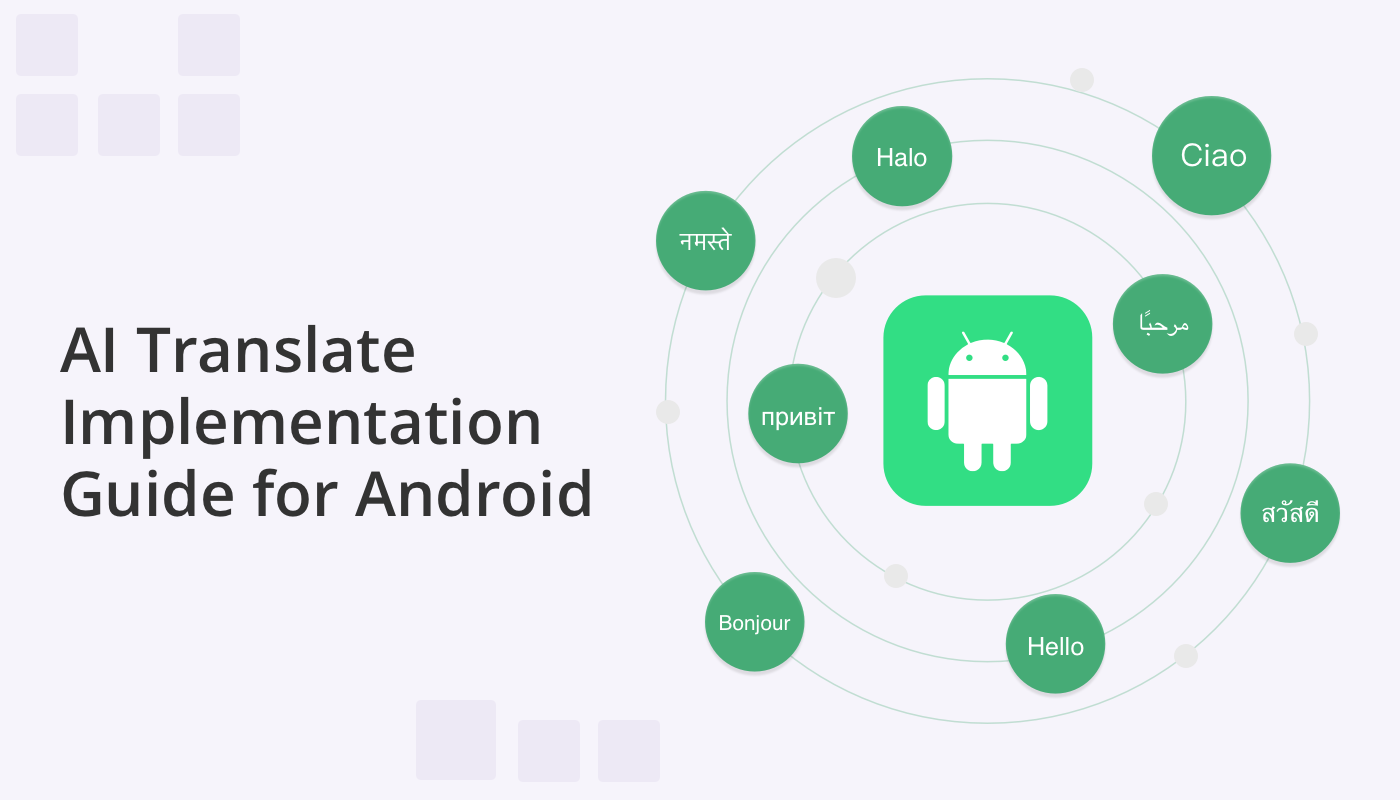
Welcome to our tutorial for Android app development with AI translation, where we take you through a step-by-step journey to harness the capabilities of AI Translate. With the power to break down language barriers in real time, AI Translate has the potential to reshape how we interact and collaborate across cultural and linguistic barriers.
Powered by OpenAI GPT-3.5, we’ve made this feature accessible to developers either as an independent library and also through the QuickBlox Android UI Kit.
Whether you’re using the UI Kit or prefer a more customized integration, this guide will walk you through both paths, ensuring that you can seamlessly implement AI Translate’s transformative capabilities and enable multilingual communication within your apps.
Getting Started:
Here are a few things you need to know:
OpenAI AI
AI Translate for Android is powered by OpenAI-GPT-3.5. Therefore you will need to have an account with OpenAI to use the OpenAI API and OpenAI Token.
QuickBlox Proxy Server
Furthermore, QuickBlox has integrated a PROXY Server, which we recommend you use, to bolster data security when interacting with the AI model. Serving as an intermediary, the PROXY Server ensures secure data transmission between the Android app and the AI model, providing a safeguard for sensitive information. Be sure to use the latest version.
PART I. Implementing AI Translate as an independent library
It’s easy to integrate the QuickBlox AI Translate library into your Android project. All it takes are 3 simple steps.
Step 1. Add the dependency to your project.
repositories {
   google()
   mavenCentral()
   maven {
url "https://github.com/QuickBlox/android-ai-releases/raw/main/"
   }
}
Step. 2. Add implementation of the QuickBlox AI Translate library to dependencies in your build.gradle file (App level).
dependencies {
    implementation "com.quickblox:android-ai-translate:2.0.0"
}
You can discover the latest release and the entire release history in our repository: https://github.com/QuickBlox/android-ai-releases/releases
Step 3. Invoke the entry point
There are two approaches for using the QuickBlox AI Translate library.
Direct Approach: Employing the library through the raw Open AI token
It’s important to conceal the token, for example by embedding the token within the local.properties file. This configuration enables the library to establish direct communication with the OpenAI API. Please note, while this method is suitable for swift development testing, it is not recommended for production release due to the direct utilization of an Open AI token.
This method involves the following code:
// below we have required imports for QuickBlox AI Translate library
import com.quickblox.android_ai_translate.Languages
import com.quickblox.android_ai_translate.QBAITranslate
import com.quickblox.android_ai_translate.callback.Callback
import com.quickblox.android_ai_translate.exception.QBAITranslateException
import com.quickblox.android_ai_translate.settings.TranslateSettingsImpl
import com.quickblox.android_ai_translate.settings.TranslateSettingsImpl.Model


/*
 * some code
 */

private fun translateWithApiKey() {
   val openAIToken = "open_ai_token" // our raw open ai token
   val language = Languages.ITALIAN // language to be translate

   val translateSettings = TranslateSettingsImpl(openAIToken, language)

   // optional parameters
   val maxRequestTokens = 3000 // default value
   val openAIModel = Model.GPT_3_5_TURBO // default value
   val temperature = 0.5f // default value

   translateSettings.setMaxRequestTokens(maxRequestTokens)
   translateSettings.setModel(openAIModel)
   translateSettings.setTemperature(temperature)

   val text = "The text to translation!"
   QBAITranslate.translateAsync(text, translateSettings, object : Callback {
       override fun onComplete(translation: String) {
          // here we will receive the translation
       }

       override fun onError(exception: QBAITranslateException) {
           // here we might handle the error if something goes wrong
       }
   })
}
Proxy Method: Utilizing the library with the QuickBlox session token while incorporating a proxy server
Through this configuration, the library establishes communication with the OpenAI API via the intermediary proxy server, ensuring heightened security. This approach is the recommended method as it involves encapsulating the Open AI token within the proxy server and contributes to a more robust and protected workflow.
This method involves the following code:
// below we have required imports for QuickBlox AI Translate library
import com.quickblox.android_ai_translate.Languages
import com.quickblox.android_ai_translate.QBAITranslate
import com.quickblox.android_ai_translate.callback.Callback
import com.quickblox.android_ai_translate.exception.QBAITranslateException
import com.quickblox.android_ai_translate.settings.TranslateSettingsImpl
import com.quickblox.android_ai_translate.settings.TranslateSettingsImpl.Model


/*
 * some code
 */

private fun translateWithProxyServer() {
   val qbToken = "quickblox_token" // our QuickBlox session token
   val serverProxyUrl = "https://my.proxy-server.com" // our proxy server url
   val language = Languages.ITALIAN // language to be translate

   val translateSettings = TranslateSettingsImpl(qbToken, serverProxyUrl, language)

   // optional parameters
   val maxRequestTokens = 3000 // default value
   val openAIModel = Model.GPT_3_5_TURBO // default value
   val temperature = 0.5f // default value

   translateSettings.setMaxRequestTokens(maxRequestTokens)
   translateSettings.setModel(openAIModel)
   translateSettings.setTemperature(temperature)

   val text = "The text to translation!"
   QBAITranslate.translateAsync(text, translateSettings, object : Callback {
       override fun onComplete(translation: String) {
           // here we will receive the translation
       }
       override fun onError(exception: QBAITranslateException) {
           // here we might handle the error if something goes wrong
       }
   })
}
QuickBlox AI Translate uses the Languages.ENGLISH by default. To set the language into which you want to translate the text, you need to set this language in the constructor of the object TranslateSettingsImpl.
val openAIToken = "open_ai_token" // our raw open ai token
val language = Languages.ITALIAN // language to be translate

val translateSettings = TranslateSettingsImpl(openAIToken, language)
Please note the following Exception:
In the QuickBlox AI Translate library you could receive QBAITranslateException in onError callback for async and throw it from sync approaches.
You can obtain detailed information from the **message** field, as shown in the code snippet below.
// async approach
override fun onError(error: QBAITranslateException) {
    val detailMessage = error.message
   	// show message to UI or another logic
}

// sync approach
try {
   // invoke sync methods from QBAITranslate
} catch (exception: QBAITranslateException) {
   val detailMessage = exception.message
   // show message to UI or another logic
}
PART II. Implementing AI Translate as Part of the QuickBlox Android UI Kit
To save you time and make it easier to use the AI Translate library, we have also integrated it into the QuickBlox UI Kit.
You can learn how to implement the QuickBlox Android UI Kit and send your first message reading our official documentation.
See also:
Getting Started with the QuickBlox Android UI Kit
Create Exceptional Chat Experiences with QuickBlox’s Chat UI Kits
It’s easy to use the AI translate library via the UI Kit, just follow these simple instructions:
Add the repository and dependencies
Include references to the SDK repositories in your project-level build.gradle file at the root directory or to settings.gradle file in your Android application. Specify the URL of the QuickBlox repository where the files are stored. Following this URL, gradle finds SDK artifacts.
repositories {
    // below we have the link to QuickBlox UIKit repository
    maven {
       url "https://github.com/QuickBlox/android-ui-kit-releases/raw/master/"
    }

    // below we have the link to QuickBlox Android SDK repository
    maven {
       url "https://github.com/QuickBlox/quickblox-android-sdk-releases/raw/master/"
    }


    // below we have the link to QuickBlox AI repository
    maven {
       url "https://github.com/QuickBlox/android-ai-releases/raw/main/"
    }
}
Then you need to add the implementation of QuickBlox dependencies in your module-level(App) build.gradle file in your Android application.
dependencies {
    implementation "com.quickblox:android-ui-kit:0.7.0"
}
Enable/Disable AI Translate
By default, AI Translate is turned on, but not configured. There are two methods to configure this feature.
Configure AI Translate with OpenAI Token
To configure the AI Translate using the OpenAI Token, we need to invoke the following method in the UI Kit entry point after invoking the init() method.
val openAIToken = "open_ai_token"

QuickBloxUiKit.init(applicationContext)
QuickBloxUiKit.enableAITranslateWithOpenAIToken(openAIToken)
Configure AI Translate with the Proxy server
To configure the AI Translate with the Proxy server we need to invoke the following method in the UI Kit entry point after we invoke the init() method.
val serverProxyUrl = "https://my.proxy-server.com"

QuickBloxUiKit.init(applicationContext)
QuickBloxUiKit.enableAITranslateWithProxyServer(serverProxyUrl)
Disable AI Translate
To disable AI Translate we need to invoke the method in the UI Kit entry point after we invoke the init() method.
QuickBloxUiKit.init(applicationContext)

// below we disable the AI Translate
QuickBloxUiKit.disableAITranslate()
How to use AI Translate
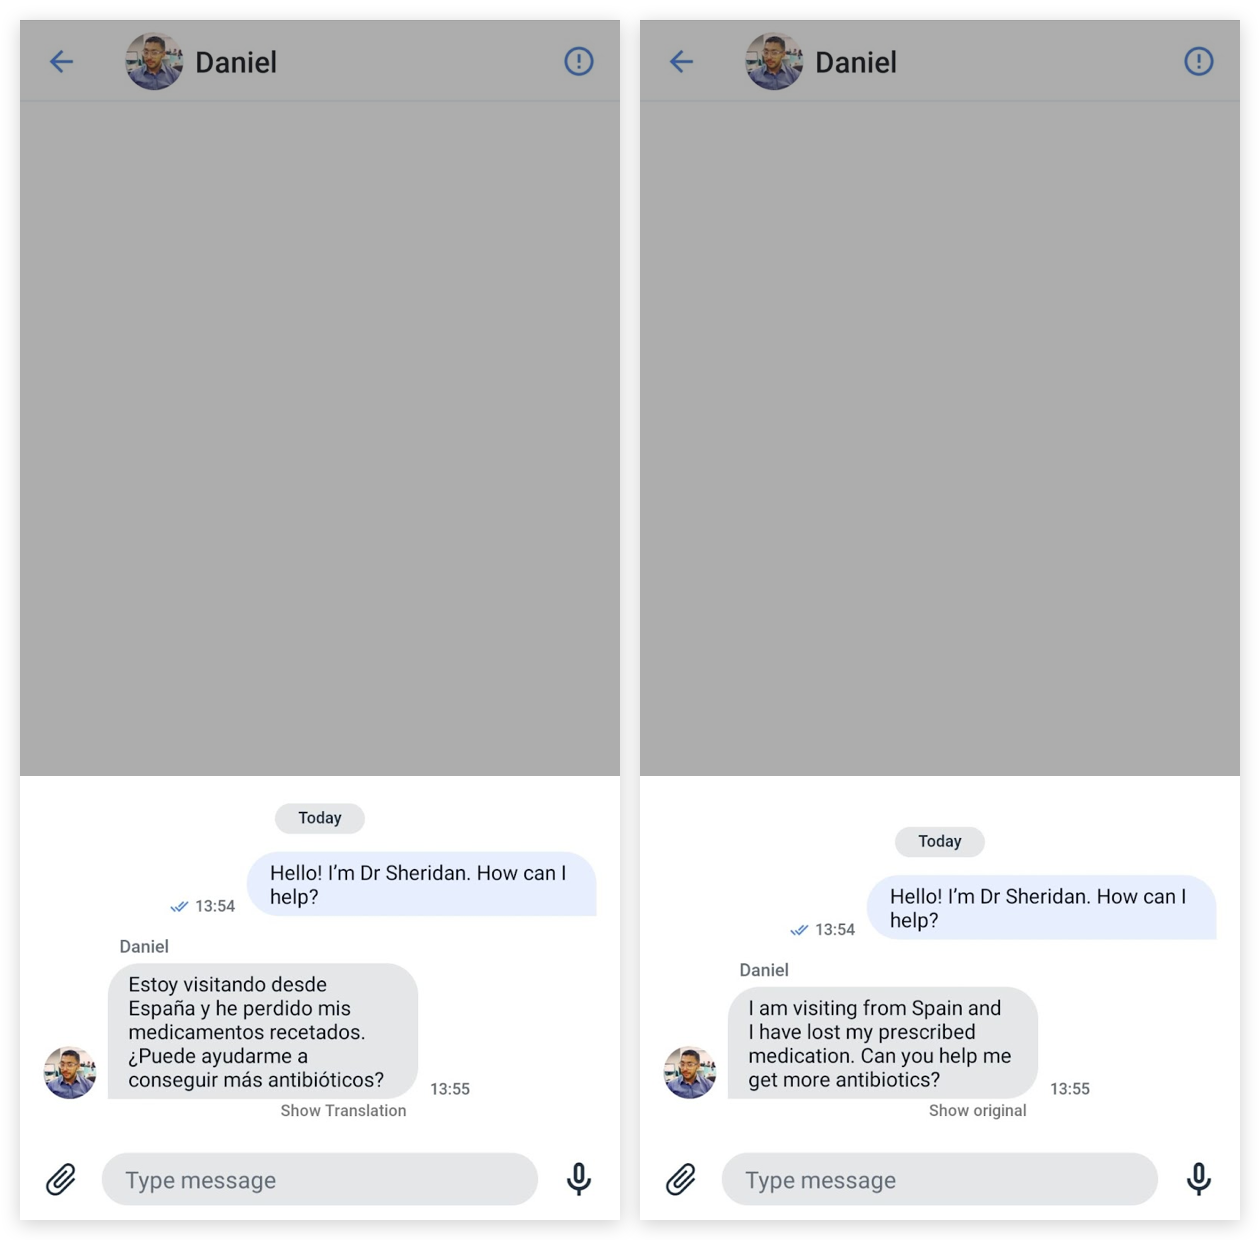
For ease of use, we have created two approaches for using the AI Translate feature as part of the QuickBlox Android UI Kit, either through direct operations or through a proxy. Both approaches are accepted in the constructor IncomingChatMessageEntity, to be able to translate incoming messages.
For asynchrony in Android UIKit, we use a Kotlin Coroutine. To this end, we use the viewModelScope to launch a new coroutine using the launch() builder. A ViewModelScope is defined for each ViewModel in your app. Any coroutine launched in this scope is automatically canceled if the ViewModel is cleared.
Learn more about, How to use Kotlin Coroutines in Android
Direct operations:
viewModelScope.launch {
   try {
       val entity = LoadAITranslateWithApiKeyUseCase(dialogId, message).execute()
   } catch (exception: DomainException) {
       // error handling
   }
}
Operations through proxy:
viewModelScope.launch {
   try {
       val entity = LoadAITranslateWithProxyServerUseCase(dialogId, message).execute()
   } catch (exception: DomainException) {
       // error handling
   }
}
Wrapping up
At QuickBlox, we’ve crafted our tools and documentation with developers like you in mind, ensuring a seamless and rewarding experience as you enhance your apps with the power of AI. Use our developer-friendly solutions to build an Android translation app, connecting users across the globe. Explore the potential of AI Translate, and let QuickBlox be your partner in creating innovative and impactful applications that redefine the way we connect and communicate.
Have Questions? Need Support?
Join the QuickBlox Developer Discord Community, where you can share ideas, learn about our software, & get support.
Join QuickBlox Discord
 AI Agent — automate conversations and workflows. Now available on Free plan